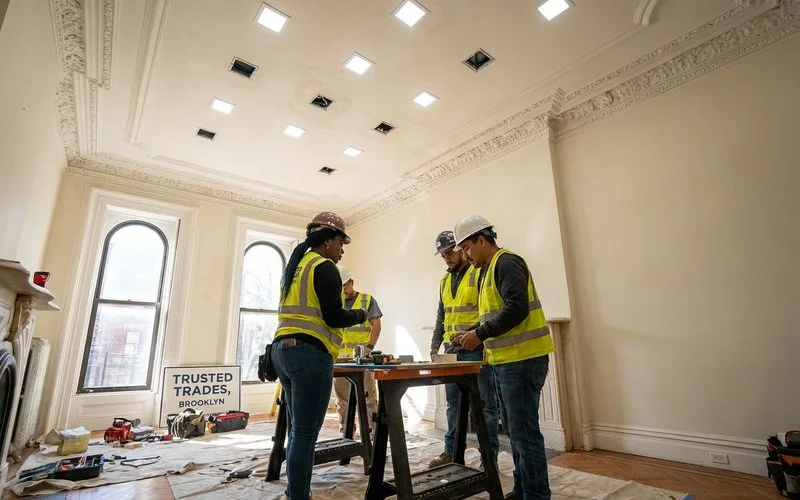
We have walked into countless Brooklyn brownstones where the lighting situation feels more like a cave than a home. You probably know the feeling of flipping a switch and seeing only the center of the room light up while the corners remain in shadow.
We see this constantly in railroad-style apartments and historic row houses. The challenge is rarely just about adding more bulbs. It is about integrating modern illumination into structures that were built before electricity was standard.
Our team has spent years navigating the unique joist layouts of Bed-Stuy renovations and the delicate plaster work in Park Slope. We are going to break down exactly how to plan your lighting, what specific NYC codes you need to know, and the real costs involved in 2026.
Why Recessed Lighting Works Well in Brooklyn Homes
Brooklyn homes benefit from recessed lighting for several practical reasons. Many garden-level apartments and top-floor brownstone units have ceiling heights under eight feet.
We often recommend recessed fixtures here because they do not eat up valuable vertical space. Pendant lights or semi-flush mounts can make a room feel claustrophobic if the ceiling is already low.
Recessed lighting also solves the “long hallway” problem found in many railroad apartments. A series of downlights can make a narrow corridor feel wider and more inviting.
We find that this approach respects the architecture. The clean lines complement crown moldings and decorative plaster without fighting for attention.
Choosing the Right Recessed Fixtures
Modern recessed lighting has evolved significantly from the bulky can fixtures of decades past. We now primarily install integrated LED modules that are slim, airtight, and incredibly energy-efficient.
Here are the specific specifications we look for when selecting inventory for a project.
Size Matters: The Shift to Smaller Apertures
Recessed fixtures come in several standard diameters, but trends are shifting. While six-inch cans were the standard for years, we are seeing a massive shift toward smaller, more discreet three-inch and four-inch apertures in high-end renovations.
A smaller footprint looks more sophisticated and interferes less with the ceiling plane. Four-inch fixtures work exceptionally well for focused task lighting in kitchens and bathrooms.
We still use six-inch fixtures for general ambient lighting in larger living rooms, but they are becoming less common in modern design. Larger eight-inch fixtures are generally reserved for commercial spaces or lofts with very high ceilings.
Color Temperature and CRI
The color temperature of your lights affects the mood and functionality of each room. We almost exclusively use 3000K (Soft White) for general lighting in Brooklyn renovations, as it bridges the gap between cozy and clean.
Warm white at 2700K matches the yellowish hue of old incandescent bulbs. This creates a cozy atmosphere ideal for bedrooms or living rooms with a lot of natural wood.
Neutral white at 3500K is excellent for kitchens and bathrooms where you need true color accuracy for cooking or applying makeup. Cool white at 4000K is generally too clinical for residential spaces.
Pro Tip: Pay attention to the Color Rendering Index (CRI). We recommend fixtures with a CRI of 90 or higher. This ensures that the red brick of your fireplace or the grain of your hardwood floors looks rich and accurate, rather than washed out.
IC Rating and NYC Energy Code
If your recessed lights will be installed in a ceiling with insulation above it, you must use IC-rated (Insulation Contact) fixtures. We treat this as a mandatory requirement for any top-floor installation or extension.
Airtight fixtures are equally critical for compliance with the NYC Energy Conservation Code (NYCECC). These fixtures have gaskets that prevent expensive heated or cooled air from leaking into the ceiling cavity.
We have seen non-airtight fixtures cause draft issues that make a room feel cold despite the heating being on. Using compliant fixtures is one of the easiest ways to improve the energy envelope of a 100-year-old building.
Planning Your Layout
The placement of recessed lights determines how well they illuminate your space and how the room feels when they are on. A poor layout results in the “Swiss cheese” effect, where the ceiling looks riddled with random holes.
We follow a specific set of guidelines to ensure balanced illumination.
- Avoid the Corners: Keep lights at least three feet away from the corners of the room to avoid trapping light.
- Mind the Fans: Never place a recessed light directly above the blades of a ceiling fan, as this creates a strobing effect.
- Task First: Place lights directly over key areas like the kitchen sink, island, or reading chair before filling in the grid.
Recommended Spacing by Ceiling Height
| Ceiling Height | Recommended Spacing | Purpose |
|---|---|---|
| 8 Feet | 4 to 5 Feet Apart | General Ambient Lighting |
| 9-10 Feet | 5 to 6 Feet Apart | General Ambient Lighting |
| Kitchen Counters | 24-30 Inches from Wall | Task Lighting (prevents shadows) |
| Art Walls | 18-24 Inches from Wall | Accent/Wall Washing |
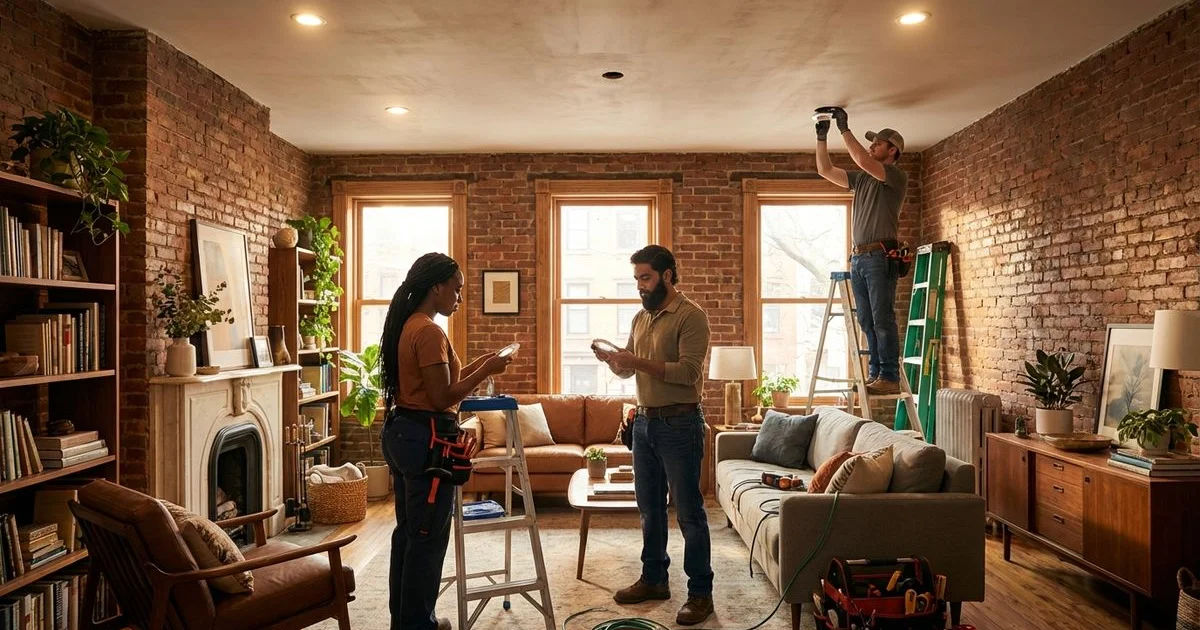
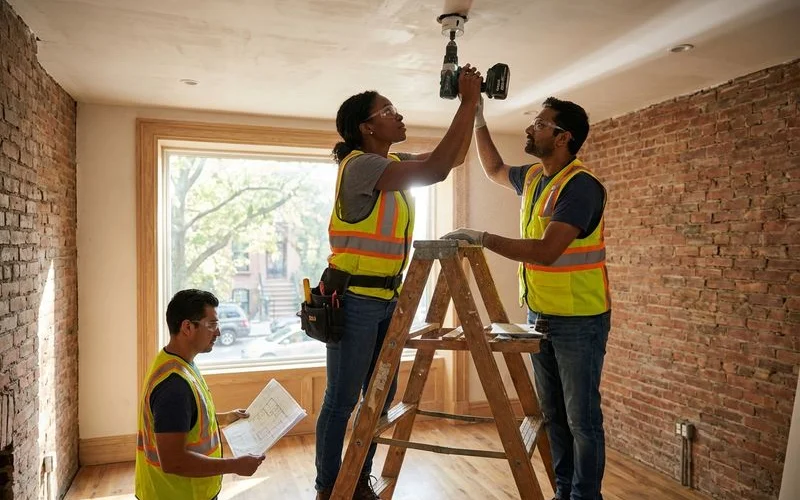
Installation Considerations for Brooklyn Homes
Installing recessed lighting in Brooklyn homes presents unique challenges that require an electrician with local experience. We deal with structural quirks here that simply do not exist in modern suburban construction.
The “BX” Cable Requirement
Most residential wiring in the United States uses “Romex” (plastic-sheathed cable), but NYC is different. We primarily work with Armored Cable (AC), often called “BX” cable, due to local fire codes and rodent prevention measures.
This metal-clad cable is heavier, harder to cut, and more difficult to fish through walls than plastic wire. It protects your home better, but it also increases the labor time for every project.
We always account for this additional labor when estimating jobs in the five boroughs.
Plaster Ceilings vs. Drywall
Many Brooklyn homes have lath-and-plaster ceilings rather than modern drywall. Cutting holes in plaster requires extreme care to avoid cracking the surrounding surface or causing large chunks to detach.
We use specialized carbide-grit hole saws rather than standard toothed saws. The grit grinds a clean circle through the plaster and wood lath without grabbing or tearing the delicate material.
Retrofit fixtures with strong spring clips are essential here. They must secure firmly to the ceiling material without needing to be nailed into the joists, which avoids further vibration damage to the plaster.
Structural Considerations and Joists
Before cutting any holes, your electrician must verify what is above the ceiling. In brownstones, the floor joists often run parallel to the street, meaning you have long channels to fish wire through in one direction, but major obstacles in the other.
We often have to open small “exploratory holes” to map out plumbing pipes, gas lines, and structural beams. A thorough assessment prevents the nightmare scenario of hitting a water line mid-installation.
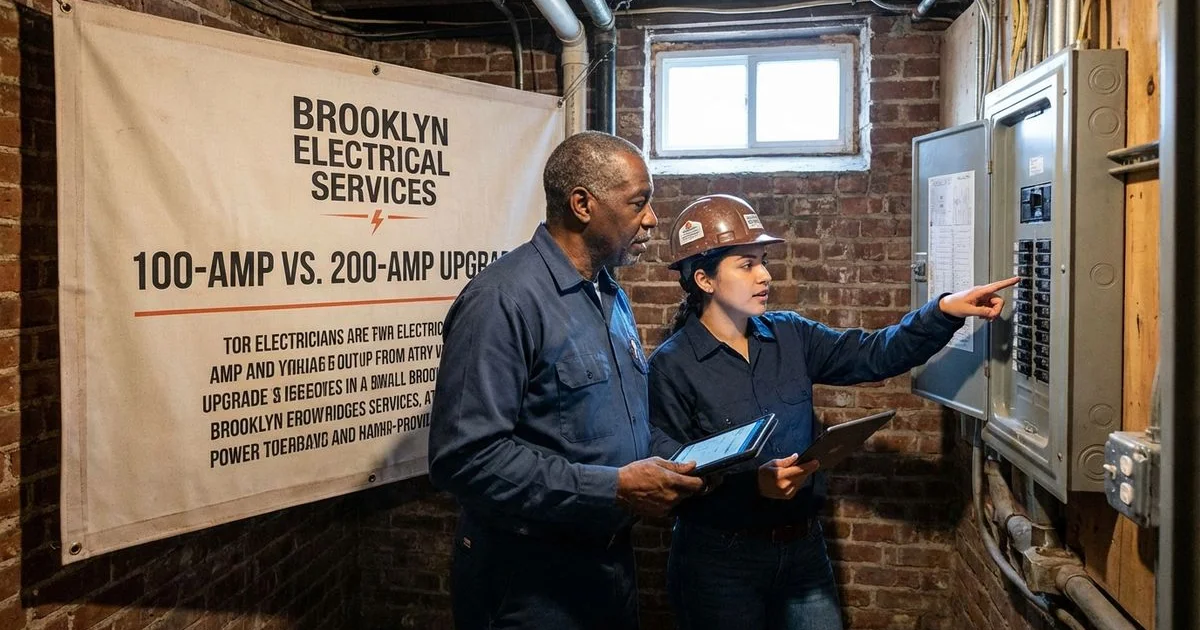
Electrical Capacity and Panel Load
Adding multiple recessed lights means adding electrical load to your home’s circuits. While modern LED recessed lights draw very little power (typically 10-15 watts), a whole-home upgrade adds up.
We calculate the total amperage to ensure your current breaker panel can handle the expansion. Older homes with 60-amp or 100-amp service often need a sub-panel or a heavy-up to accommodate modern lighting plans.
This is also the right time to check for ungrounded wiring, which is common in pre-1960s buildings.
Dimmer Switches and Smart Controls
Recessed lighting works best when paired with dimmer switches that let you adjust the light level for different activities. We rarely install a circuit without a dimmer these days.
Modern LED-compatible dimmers, such as those from Lutron or Leviton, solve the flickering issues that used to plague early LED installs. We specifically look for “ELV” (Electronic Low Voltage) dimmers for the smoothest performance.
Smart dimmer switches allow you to set schedules for when you are away or control lights via voice commands. Make sure your smart switch requires a neutral wire, as some older Brooklyn switch boxes do not have one.
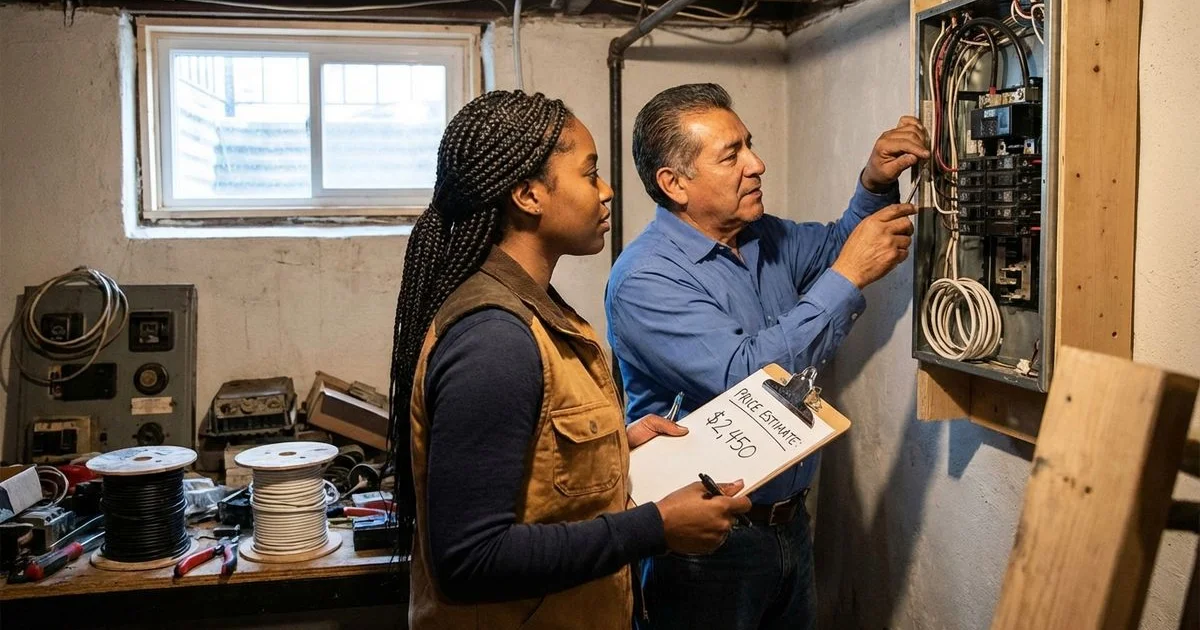
Costs for Recessed Lighting in Brooklyn
The cost of recessed lighting installation depends on the number of fixtures, the complexity of the ceiling access, and whether new circuits are needed. Pricing in New York City is generally higher than the national average due to labor rates and the difficulty of working with armored cable and plaster.
We have broken down the typical cost ranges you can expect for a 2026 project.
Estimated Cost Breakdown (Per Fixture)
- Standard Retrofit (Drywall): $200 - $350 per light (includes labor and materials).
- Plaster/Lathe Installation: $300 - $500 per light (requires specialized cutting and care).
- New Construction (Open Ceiling): $150 - $250 per light.
- Dimmer Switch Installation: $75 - $150 per switch.
A typical Brooklyn living room with six recessed lights generally runs between $1,800 and $3,000 for a complete installation. This investment usually pays off by modernizing the space and increasing the resale value of the property.
Working With Your Electrician
The key to a successful recessed lighting project is clear communication with your electrician before any cutting begins. We always start with a walkthrough to tape out exactly where the lights will go.
This allows you to visualize the layout and catch potential conflicts with door swings or cabinet crowns. A good electrician will offer suggestions based on experience with similar Brooklyn homes.
Our team has installed recessed lighting in hundreds of Brooklyn homes. Learn more about our lighting installation services or contact us for a free consultation.
Related Service
Learn more about our lighting installation service